Introduction: Making Luxury Affordable
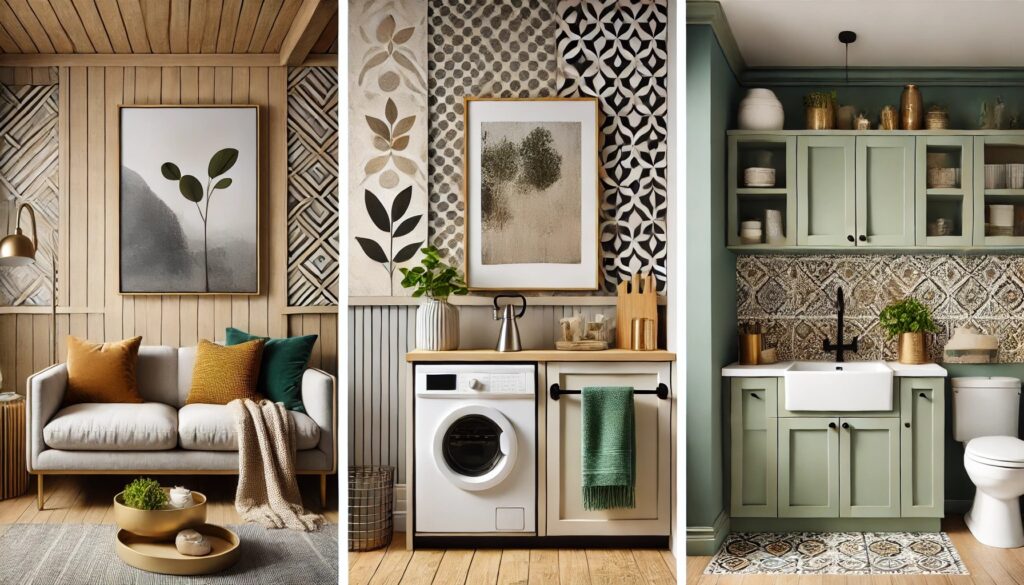
Affordable bathroom remodeling is how to Transform your dated bathroom into a modern oasis without breaking the bank. This comprehensive guide will walk you through every step of achieving a high-end look on a budget, backed by real experience and expert insights.
A Personal Renovation Journey
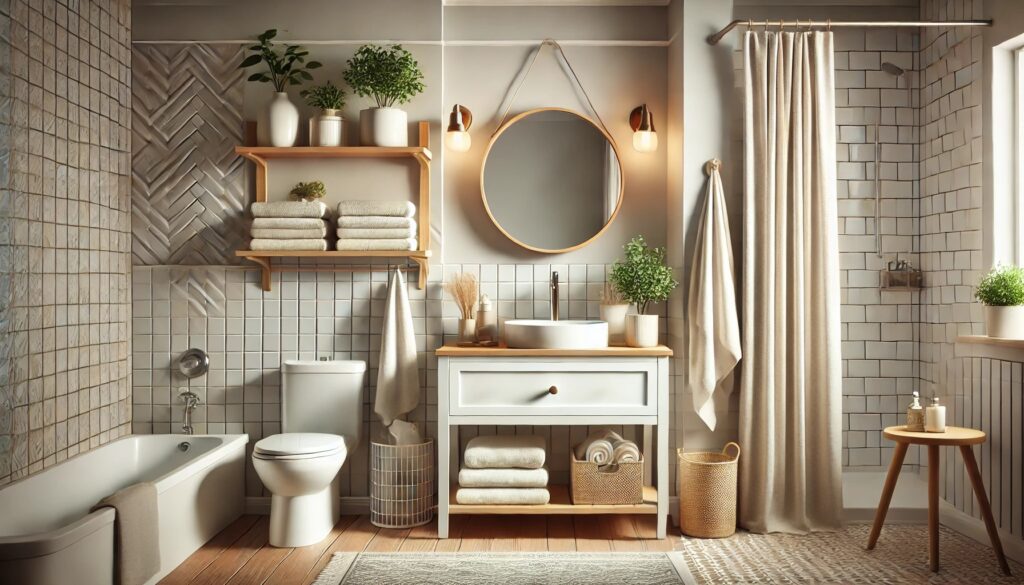
Let me tell you a quick story. Last spring, I stared at my 1990s bathroom with its peeling wallpaper and dated oak vanity, thinking a renovation would cost at least $10,000. Boy, was I wrong. After extensive research and some creative thinking, I managed to transform my bathroom into a modern sanctuary for just under $3,000. Today, I’m sharing everything I learned to help you achieve the same results.
Breaking Down the $3,000 Bathroom Remodel
The Reality of Budget-Friendly Renovations
While the average bathroom remodel costs around $10,000, smart planning and strategic choices can dramatically reduce that number. According to research from Modernize, and other industry experts, homeowners can successfully renovate a small to medium-sized bathroom for $2,500-$3,500 by prioritizing high-impact changes and making informed decisions about materials and labor.
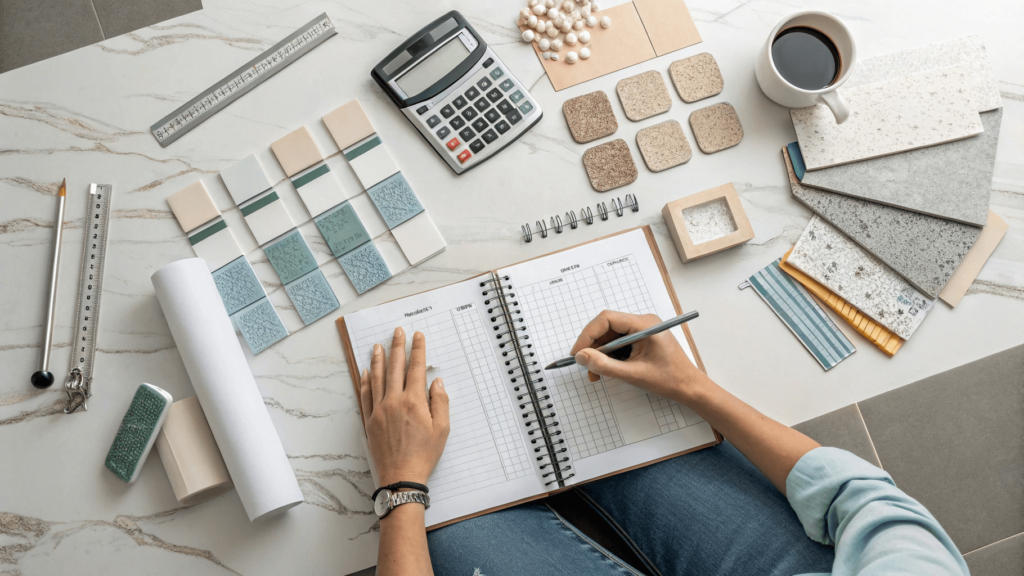
Strategic Planning: Your Budget Breakdown
As demonstrated by The Grit and Polish, careful budget allocation is crucial. Here’s a realistic breakdown:
| Item | Cost Range |
| Vanity with Sink | $300-500 |
| Toilet | $200-300 |
| Tile (floor and shower) | $400-600 |
| Paint and Supplies | $100-150 |
| Lighting Fixtures | $100-200 |
| Mirror | $50-150 |
| Shower Fixtures | $150-250 |
| Hardware and Accessories | $100-200 |
| Basic Tools | $200-300 |
| Miscellaneous Materials | $200-350 |
Essential Components:
- Vanity with Sink: $300-500
- Consider floor models for additional savings
- Look for combo deals that include the countertop
- Toilet: $200-300
- Focus on water-efficient models
- Look for EPA WaterSense certification
- Tile (floor and shower): $400-600
- Large-format porcelain tiles offer best value
- Consider luxury vinyl tile as an alternative
- Paint and Supplies: $100-150
- Include primer, paint, brushes, and prep materials
- Choose moisture-resistant formulas
- Lighting Fixtures: $100-200
- Factor in both ambient and task lighting
- Consider LED options for long-term savings
- Mirror: $50-150
- Options range from basic to LED-integrated
- Shower Fixtures: $150-250
- Prioritize quality for daily-use items
- Look for water-saving features
- Hardware and Accessories: $100-200
- Includes towel bars, toilet paper holder, etc.
- Basic Tools: $200-300
- Investment pieces for future projects
- Miscellaneous Materials: $200-350
- Includes grout, caulk, plumbing supplies
Strategic Money-Saving Approaches

1. Keep the Original Layout: Your Biggest Cost Saver
The most effective way to maintain your budget is by keeping your plumbing where it is. As noted Design Build Pros, reports that maintaining the original layout can reduce renovation costs by 40-60%. This means keeping your:
- Toilet location fixed
- Sink/vanity placement unchanged
- Shower/tub in the original position
2. DIY vs. Professional Work: Making Smart Choices
The Handyman Home suggests that certain tasks are perfect for DIY, while others should be left to professionals. Here’s what you can tackle yourself:
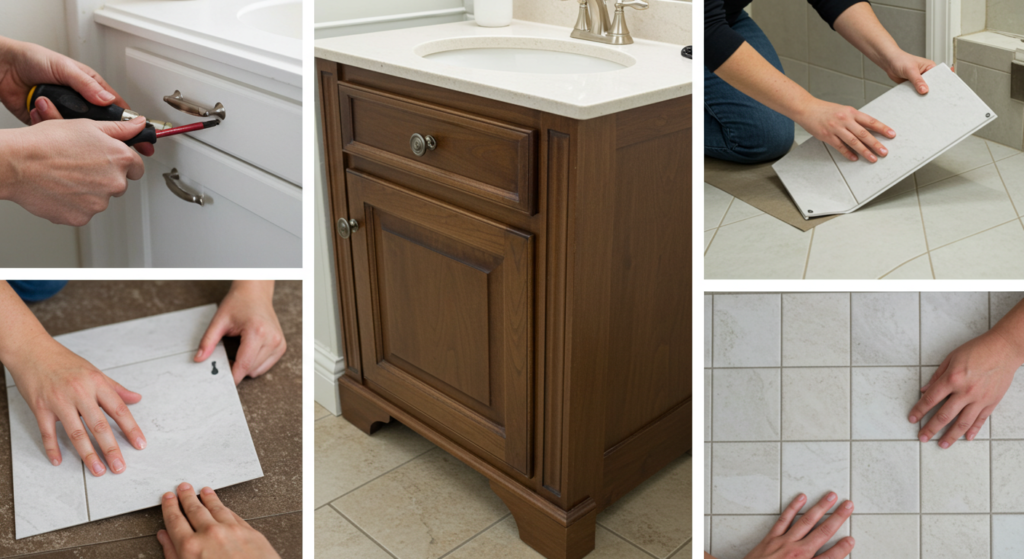
Safe DIY Projects:
- Demolition (with proper safety equipment)
- Wear protective gear
- Document shut-off valve locations
- Take photos before removal
- Painting
- Use proper bathroom-grade materials
- Apply multiple thin coats
- Hardware Installation
- Follow manufacturer guidelines
- Use appropriate anchors
- Basic Tile Work (if experienced)
- Start with floor tiles
- Use spacers for consistency
Projects for Professionals:
- Complex plumbing modifications
- Electrical work
- Waterproofing
- Major structural changes
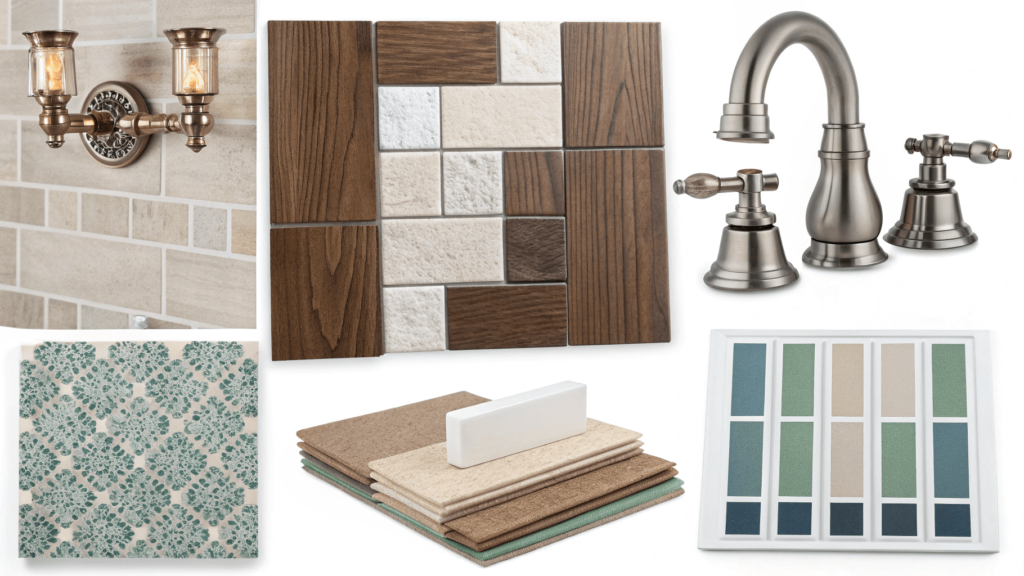
3. Material Selection Strategy
Chloe K Design Studio demonstrates the importance of strategic material choices. Here’s my tried-and-true strategy:
Where to Save:
- Floor Tile
- Large-format porcelain tiles (24×24 or 12×24)
- Luxury vinyl tile alternatives
- End-of-line clearance options
- Hardware
- Spray paint existing pieces
- Shop clearance sections
- Buy in bulk for consistency
- Mirror Solutions
- Frame existing mirrors
- Shop second-hand stores
- Consider DIY framing
- Paint Choices
- Mid-range brands with good reviews
- Look for sales and rebates
- Buy during holiday promotions
Where to Invest:
- Faucets
- Choose reliable brands
- Look for lifetime warranties
- Focus on water efficiency
- Shower Fixtures
- Prioritize quality materials
- Consider water pressure needs
- Look for anti-scalding features
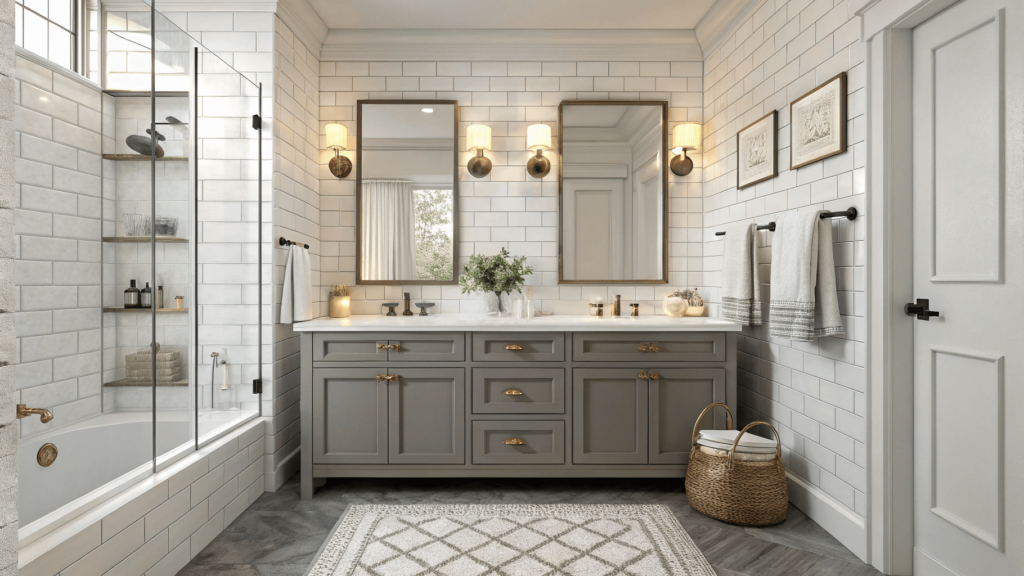
- Vanity
- Solid wood construction
- Soft-close drawers
- Moisture-resistant materials
The Transformation Process: Week-by-Week Plan
Following the guidance from Tradelink, here’s a practical timeline:
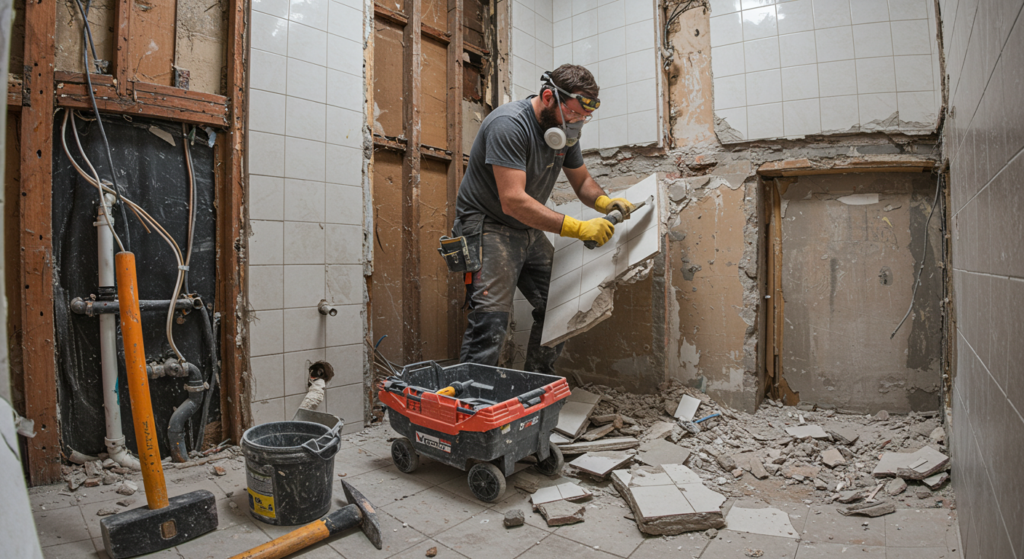
Week 1: Prep and Demo
- Create detailed work schedule
- Purchase and organize materials
- Remove old fixtures
- Inspect for water damage
- Document any plumbing or electrical issues
Week 2: Core Construction
- Address any structural issues
- Install cement board
- Begin waterproofing
- Start tile installation
- Update basic plumbing

Week 3: Finishing Touches
- Complete tile work
- Install new fixtures
- Paint walls and trim
- Add lighting
- Install accessories

Expert Money-Saving Tips
- Shop Floor Models: I saved 40% on my vanity by buying a floor model from a local home improvement store. Check back frequently – inventory changes weekly.
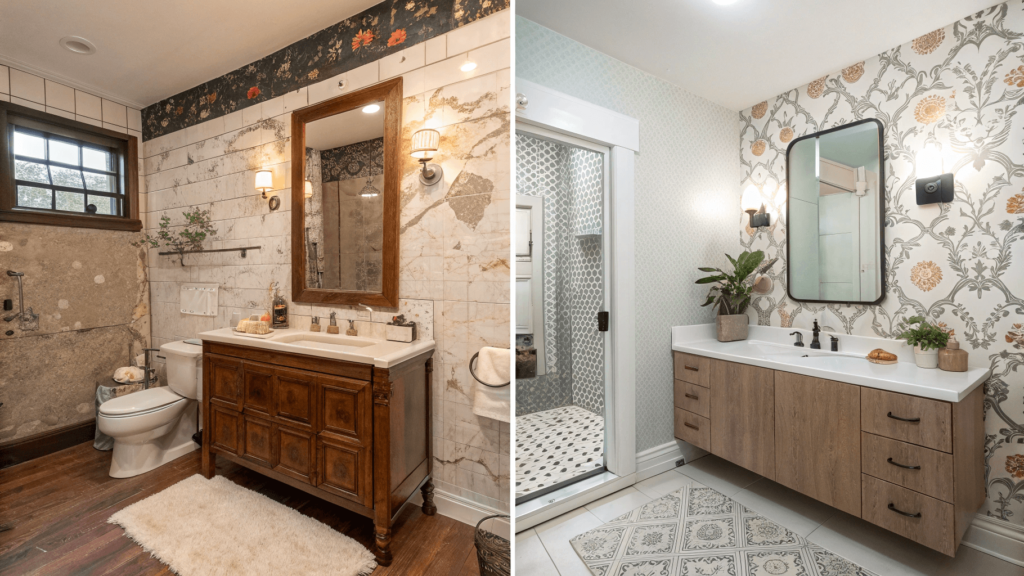
- Refinish Don’t Replace: That old cast iron tub? Give it new life with a professional refinishing service for about $400 instead of spending $2,000+ on a new one.
- Mix High and Low Tiles: Use expensive accent tiles sparingly with budget-friendly large-format tiles for a designer look at a fraction of the cost.
- Transform Don’t Transfer: Instead of replacing that dated oak vanity, consider painting it and adding new hardware. The transformation can be stunning for under $100.
Common Pitfalls and Solutions
Planning Phase
- Mistake: Rushing into demolition
- Solution: Create detailed plans and timelines
- Prevention: Document everything before starting
Material Selection
- Mistake: Choosing trendy over timeless
- Solution: Select classic designs and colors
- Prevention: Research long-term design trends
Budget Management
- Mistake: No contingency fund
- Solution: Set aside 15-20% for unexpected issues
- Prevention: Detailed inspection before starting
Conclusion: Your Dream Bathroom Awaits
A beautiful bathroom remodel under $3,000 isn’t just a dream –it’s absolutely achievable with proper planning and smart choices.The key lies in strategic material selection, careful budgeting, and knowing which projects to DIY versus hiring professionals.
For additional visual inspiration and detailed tutorials, check out these helpful video guides and step-by-step renovation walkthrough.
Next Steps
- Create your detailed budget spreadsheet
- Plan your timeline
- Start gathering materials during sales
- Document your current bathroom
- Begin with small, manageable tasks
Ready to start your transformation? Begin with a detailed assessment of your space and create your shopping list. Your dream bathroom is just a few weeks away from becoming reality.