Introduction:
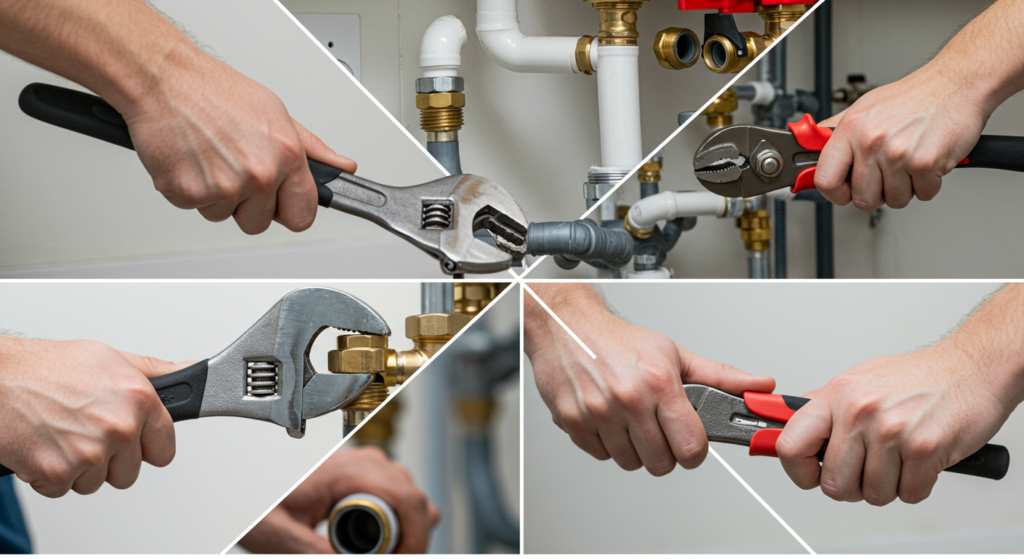
Are you tired of paying expensive plumbing bills for minor repairs? While some plumbing issues definitely require professional intervention, many common problems can be safely fixed by homeowners with basic tools and knowledge. This guide will walk you through the top 10 DIY plumbing repairs that can save you hundreds of dollars while keeping your home’s plumbing system running smoothly.
Before You Start: Essential Tools and Safety Precautions
Before diving into specific repairs, let’s cover the basic tools you’ll need in your DIY plumbing toolkit:
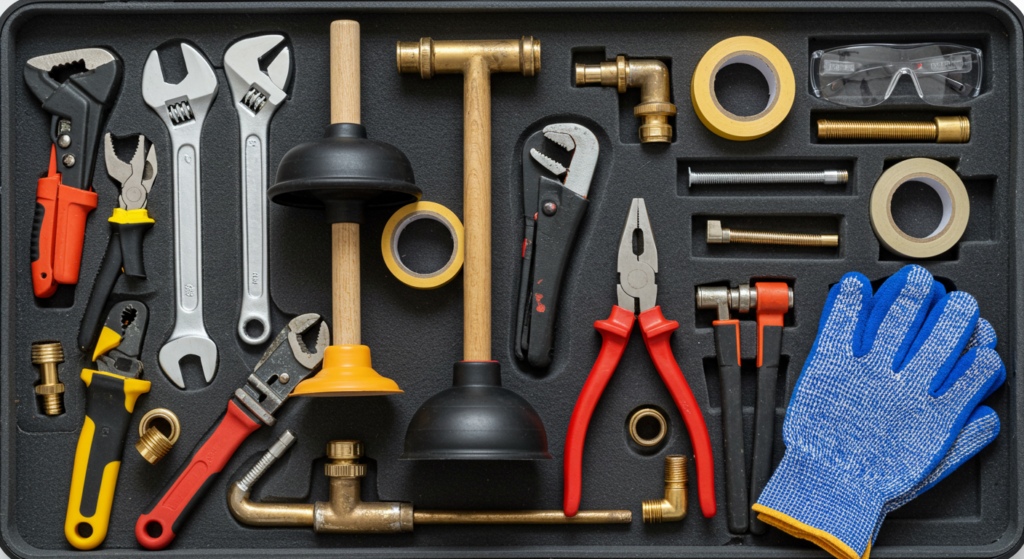
- Adjustable Wrench (2 sizes): Used to tighten or loosen nuts, bolts, and other plumbing fixtures. Having two sizes ensures you can handle various sizes of connections.
- Plunger (both cup and flange types): Cup plungers are ideal for flat surfaces like sinks, while flange plungers are designed for toilets and their curved openings.
- Plumber’s Tape (Teflon Tape): Used to create a watertight seal on threaded pipe joints, ensuring there are no leaks.
- Pipe Wrench: Provides a strong grip for turning and tightening pipes, especially for larger, more stubborn connections.
- Channel-lock Pliers: Used for gripping pipes and fittings, with adjustable jaws for a secure hold.
- Plumbing Snake or Auger: A flexible tool used to break up or remove clogs in drains and toilets.
- Basin Wrench: Designed for reaching into tight spaces to loosen and tighten nuts under sinks and basins.
- Putty Knife: Used for applying and shaping plumber’s putty around drains and other fittings.
- Plumber’s Putty: A pliable compound used to create a watertight seal around drains and faucets.
- Silicone Caulk: Used to seal gaps and seams around tubs, showers, and other plumbing fixtures, and helps prevent water leaks and mold.
- Flashlight: An essential tool for illuminating dark or hard-to-reach areas during repairs.
- Safety Glasses: To protect your eyes from debris, splashing water, or chemicals. Make sure to get safety glasses that are ANSI rated.
- Work Gloves: To protect your hands from dirt, sharp edges, and chemicals. It’s important to use gloves that are durable and water proof.
The total investment for these tools is approximately $100-150, but they’ll pay for themselves many times over. Remember: quality tools make repairs easier and safer. When buying tools, be sure that they are good quality tools that are built to last. If you buy poor quality tools, they can break easily, and make your DIY project more difficult than it should be.
Safety First
Always follow these safety guidelines to avoid injury and ensure a successful repair:
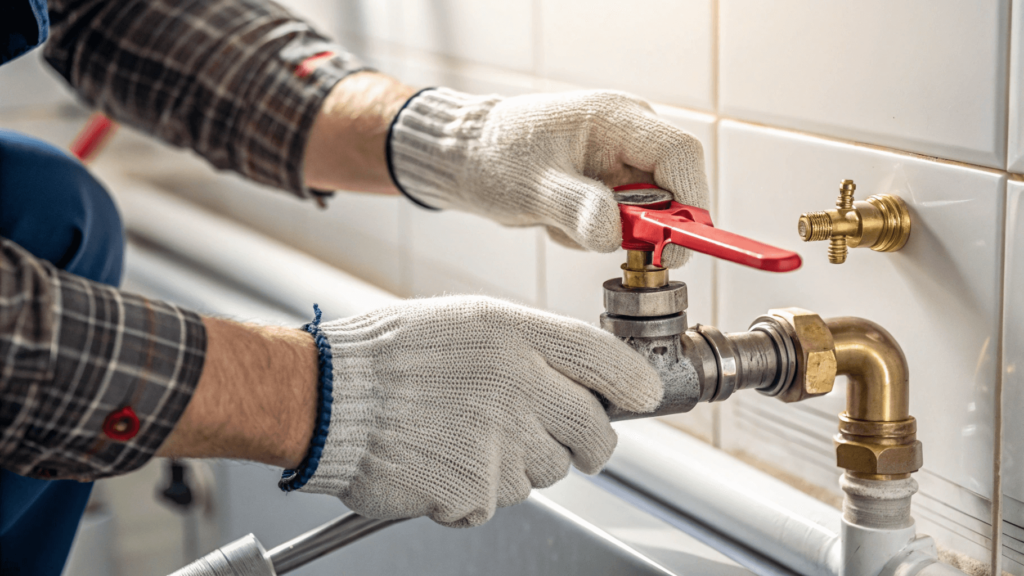
- Shut off the water supply before starting any repair. Locate the nearest shutoff valve (usually under the sink or behind the toilet), and turn it clockwise. If you can’t find it, locate the main shutoff valve (often found where the water line enters your house). It’s very important to make sure the water is turned off to avoid any flooding.
- Know where your main water shutoff valve is located and make sure that it is easy to access. It is a good idea to label it, so you know what it is, and that you will know how to turn it off during emergencies.
- Work in well-lit areas to avoid making mistakes and to ensure you can properly see what you’re doing. You should also consider using a headlamp or extra lighting to make sure the area is well lit.
- Wear appropriate safety gear such as safety glasses and work gloves to protect yourself from injuries and chemicals. You must also wear clothing that will cover your skin, in order to avoid possible chemical burns, or contamination.
- Keep a bucket and towels handy to catch water spillage or any potential leaks.
- Have a basic understanding of your plumbing system’s layout to avoid damaging other pipes while working on your home. This involves making sure that you know where pipes run, and that you have the necessary clearance to work.
1. Fixing a Running Toilet
- Average Cost Savings: $150-200
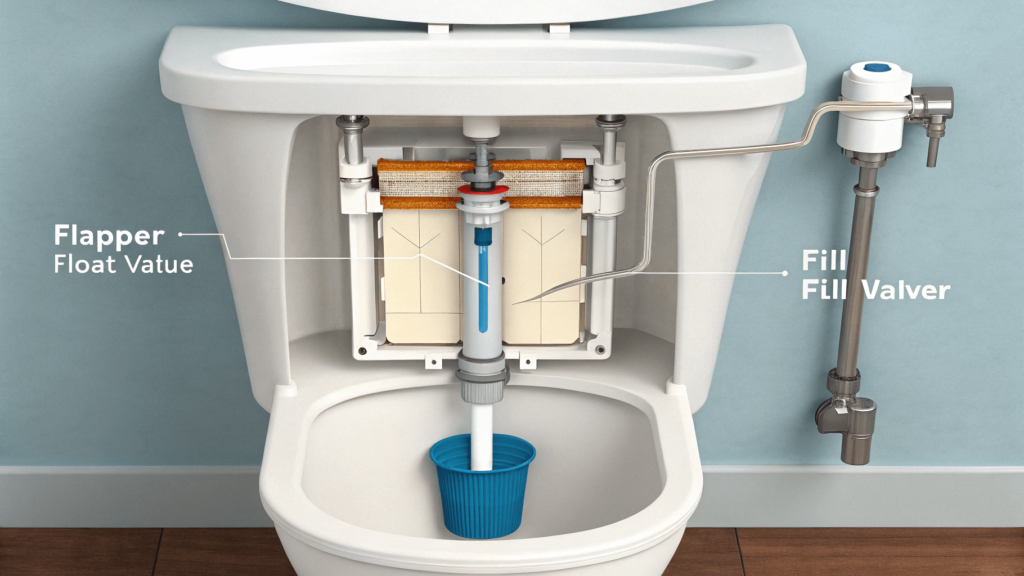
A running toilet wastes hundreds of gallons of water and can significantly increase your water bill. The good news? It’s usually an easy fix.
- Common Causes:
- Faulty flapper: The flapper is the rubber seal that allows water to flow from the tank into the bowl. A damaged or worn flapper may not properly seal, causing water to continuously run.
- Misadjusted float: The float mechanism controls the water level in the tank. If it’s set too high, it will cause the fill valve to stay open, causing the toilet to keep running.
- Worn out fill valve: A faulty fill valve may not close completely, or it may leak water after the tank is full, which results in the toilet continuing to run.
- Step-by-Step Repair:
- Remove the tank lid carefully, and set it aside, to avoid damaging it.
- Observe the mechanism while flushing to see where the water is leaking. This can help you determine what the cause of the leak is.
- For a faulty flapper:
- Turn off the water supply to the toilet, using the shutoff valve behind the toilet.
- Drain the tank by flushing and hold the handle down.
- Unhook the old flapper by disconnecting it from the flush mechanism.
- Install a new flapper ($5-10) by hooking it onto the flush mechanism, making sure it is positioned correctly.
- Test for a proper seal by slowly turning the water on, and making sure the flapper forms a tight seal. Check for any leaks.
- For float adjustments:
- If it is a float arm, you can try to gently bend the arm slightly downward, which will ensure that the fill valve shuts off.
- If it is a float cup, you can try to adjust the height of the float cup on the fill valve.
- For fill valve replacement:
* Turn off the water supply and flush the toilet to drain the water.
* Disconnect the supply line by using an adjustable wrench to loosen the connection nut.
* Remove the old fill valve by disconnecting it from the tank and then lifting it out.
* Install the new fill valve ($10-15), making sure it’s at the correct height and that the connections are tight.
* Reconnect the water supply line, using the adjustable wrench to tighten the connections. Turn the water back on and check for leaks.
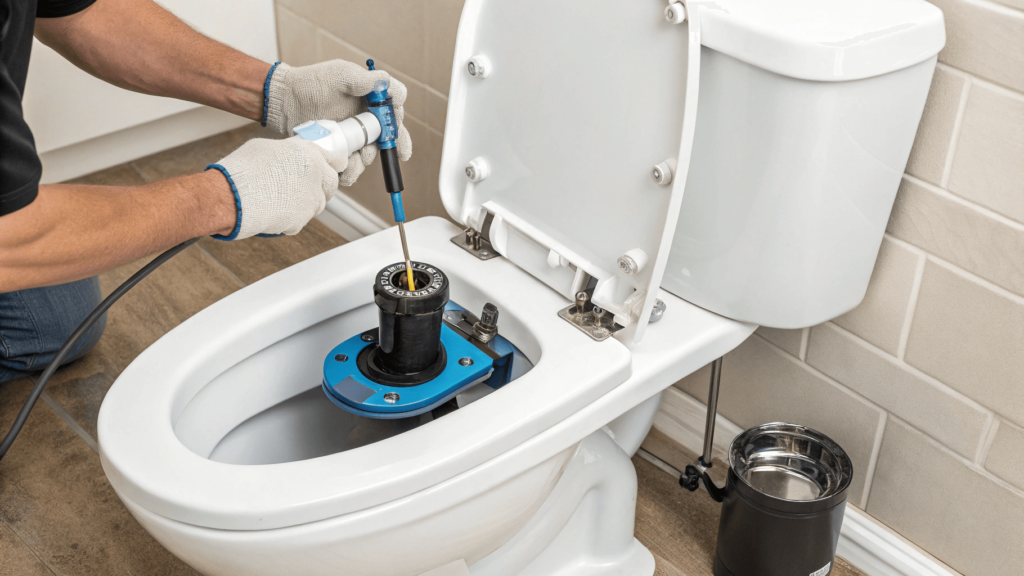
2. Unclogging a Drain
- Average Cost Savings: $100-150
Clogged drains are perhaps the most common plumbing issue homeowners face. Before reaching for harsh chemicals, try these methods:
- Tools Needed:
- Plunger (cup style for flat drains, and flange style for curved drains)
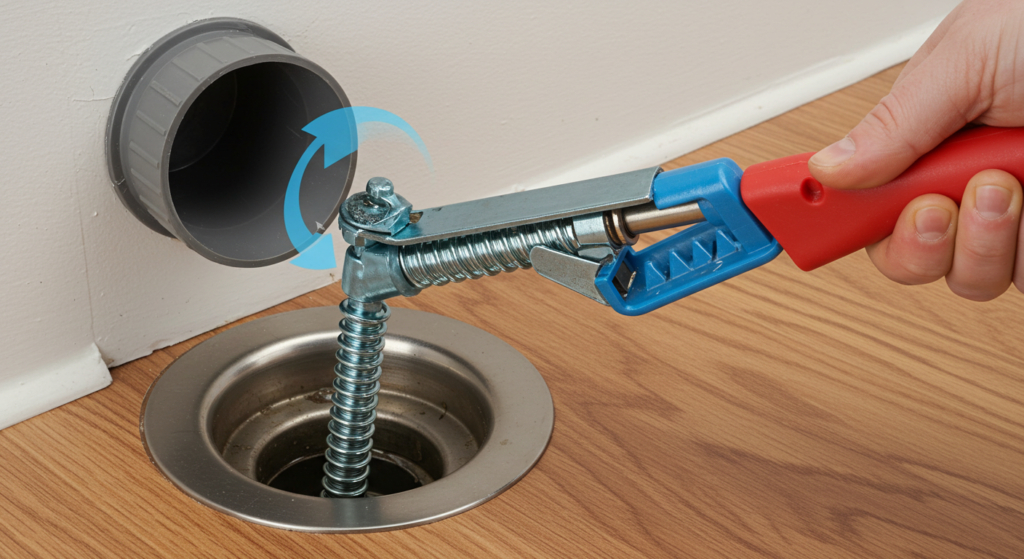
- Plumber’s snake (for breaking up stubborn clogs)
- Baking soda and vinegar (for natural cleaning)
- Hot water (to flush the drain)
- Step-by-Step Process:
- Start with the plunger:
- Fill the sink with 2-3 inches of water so that there is enough water to create a good seal.
- Create a good seal with the plunger over the drain.
- Plunge vigorously 10-15 times, and repeat if needed.
- Start with the plunger:
- If plunging fails:
- Pour 1/2 cup baking soda down the drain to remove any built up debris.
- Follow with 1/2 cup of vinegar to create a fizzing reaction that will break up the clog.
- Wait 15 minutes to allow the reaction to work.
- Flush the drain with hot water to flush the clog away.
3. For stubborn clogs: - Insert the plumber’s snake into the drain, and be careful not to damage the pipes.
- Turn the handle clockwise while pushing it further into the drain to break apart the clog.
- Pull the plumber’s snake out and remove any debris.
- Flush the drain with hot water to see if the clog has been cleared.
3. Fixing a Leaky Faucet
- Average Cost Savings: $75-150
That dripping faucet isn’t just annoying—it can waste up to 3,000 gallons of water annually. Learn how to fix it yourself.
- Common Causes:
- Worn out O-rings: These are the rubber seals that create a watertight seal. They can break or tear over time, causing leaks.
- Damaged cartridge: The cartridge is responsible for controlling the flow of water. If it is damaged, it can cause leaks or inconsistent water flow.
- Loose parts: Over time some parts can become loose causing the faucet to leak.
- Corroded valve seat: If the valve seat becomes damaged or corroded, this can lead to leaks.
- Repair Steps:
- Shut off the water supply to the faucet, under the sink, or by using the main shutoff valve.
- Cover the drain to prevent losing any small parts when disassembling the faucet.
- Remove the faucet handle carefully, making sure you note the assembly order, so you can put it back together easily.

- For cartridge faucets:
- Remove the cartridge, noting how it is installed.
- Replace it with a new matching cartridge (
10−10−20).
4. For compression faucets: - Remove the washers and O-rings.
- Replace the washers and O-rings with new ones ($5-10).
5. Reassemble the faucet in reverse order.
6. Turn the water supply back on slowly and test the faucet for leaks.

4. Replacing a Shower Head
- Average Cost Savings: $50-100
- Steps:
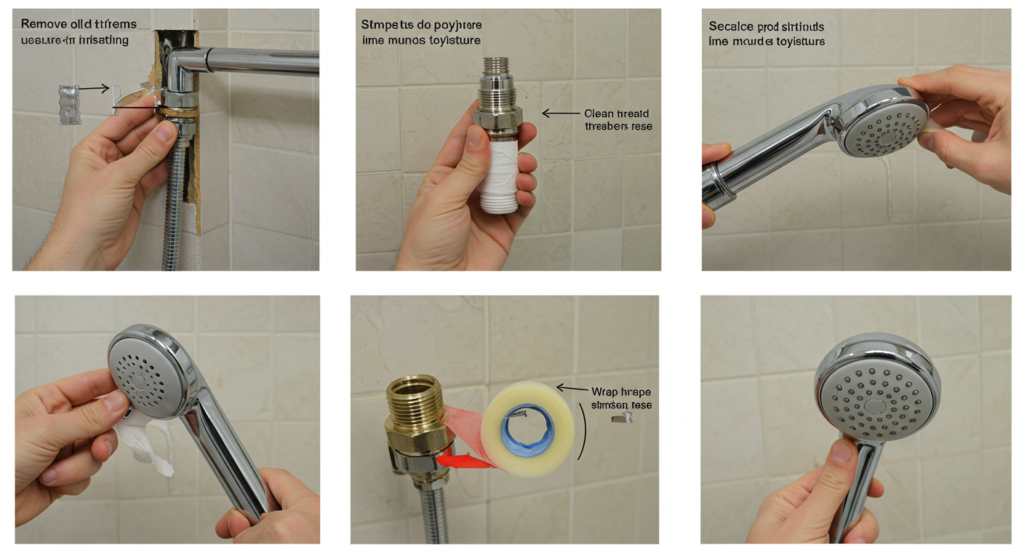
- Remove the old shower head: Use an adjustable wrench to carefully loosen and remove the old shower head.
- Clean pipe threads: Carefully remove any tape or debris from the pipe thread.
- Apply plumber’s tape: Wrap the plumber’s tape around the threads in a clockwise direction, making sure that each wrap overlaps the previous one. Do this about 3-4 times to ensure a proper seal.
- Install new shower head: Hand tighten the new shower head, and then use the wrench to give it a quarter turn, being careful not to over tighten.
5. Fixing a Slow Drain
- Average Cost Savings: $80-120
Prevention and Repair:
- Regular maintenance:
- Use drain strainers to prevent hair, food, and debris from going down the drain.
- Use a monthly baking soda and vinegar treatment to prevent any build-up from clogging the drain.
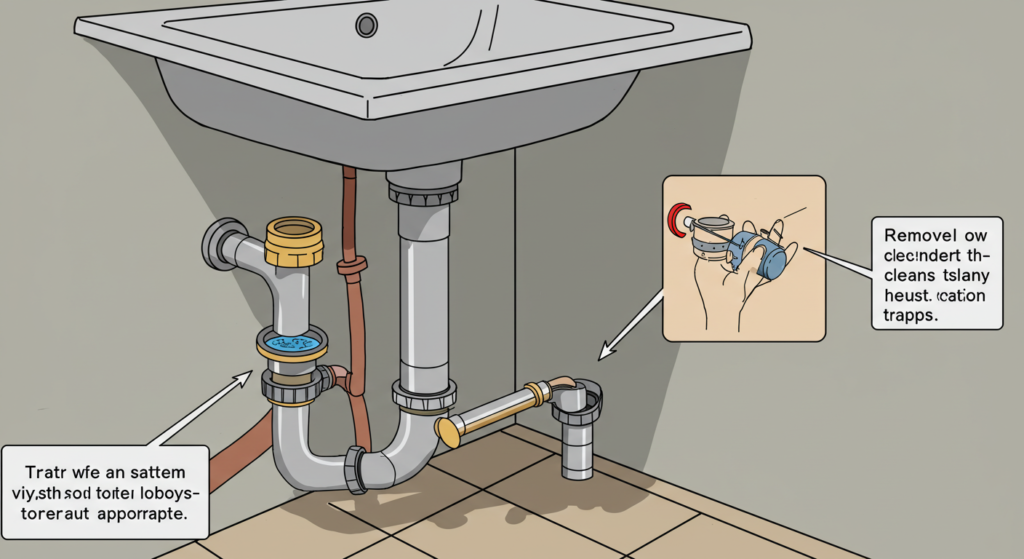
- Clean P-trap:
- Place a bucket underneath the P-trap to catch any water.
- Remove the P-trap with your hands or using channel-lock pliers.
- Clean the P-trap thoroughly by removing any clogs or debris.
- Reinstall the P-trap with new washers, if needed. Make sure to tighten it properly, and avoid over tightening.
6. Repairing a Leaky Pipe
- Average Cost Savings: $100-200
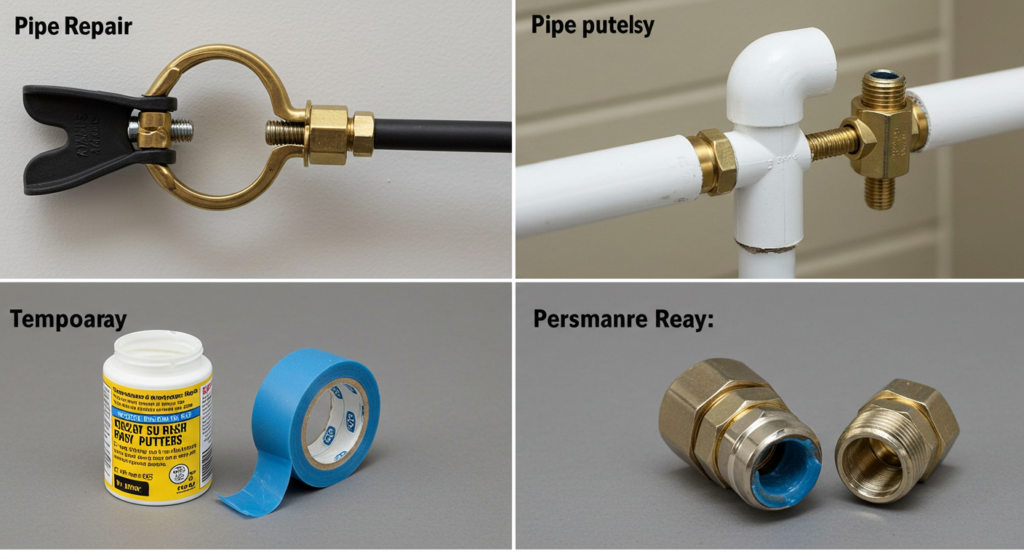
- For Minor Leaks:
- Temporary fixes:
- Pipe repair clamp: Provides a quick and easy way to stop leaks, and are often used for temporary repairs.
- Plumber’s tape: Can be wrapped around a leaky joint to create a temporary seal.
- Epoxy putty: Can be applied to a crack or leak to create a temporary seal.
- Permanent solutions:
- Cut out the damaged section of the pipe.
- Install a compression fitting to connect the pipes.
- Consider copper pipe replacement if the damage is extensive.
- Temporary fixes:
- Note: Pipe repairs can be tricky. If unsure, consult a professional.
7. Replacing a Toilet Fill Valve
- Average Cost Savings: $125-175
- Steps:
- Turn off the water supply to the toilet and flush it completely to remove any remaining water.
- Remove the old fill valve by disconnecting the water supply line, and the lock nut. You can use the adjustable wrench to help with this.
- Lift out the old fill valve, making note of how it is installed.
- Install the new valve, making sure you adjust the height of the valve, and that the lock nut is tightened.
- Reconnect the water supply line using the adjustable wrench.
- Test the toilet and adjust the water level, as needed.
8. Installing a New Faucet Aerator
- Average Cost Savings: $40-75
- Benefits:
- Improved water flow
- Reduced splashing
- Water conservation
- Installation:
- Unscrew the old aerator using your hands, or adjustable wrench.
- Clean the threads thoroughly, making sure that all debris has been removed.
- Install the new aerator and hand tighten.
9. Clearing a Clogged Toilet
- Average Cost Savings: $100-150
- Methods:
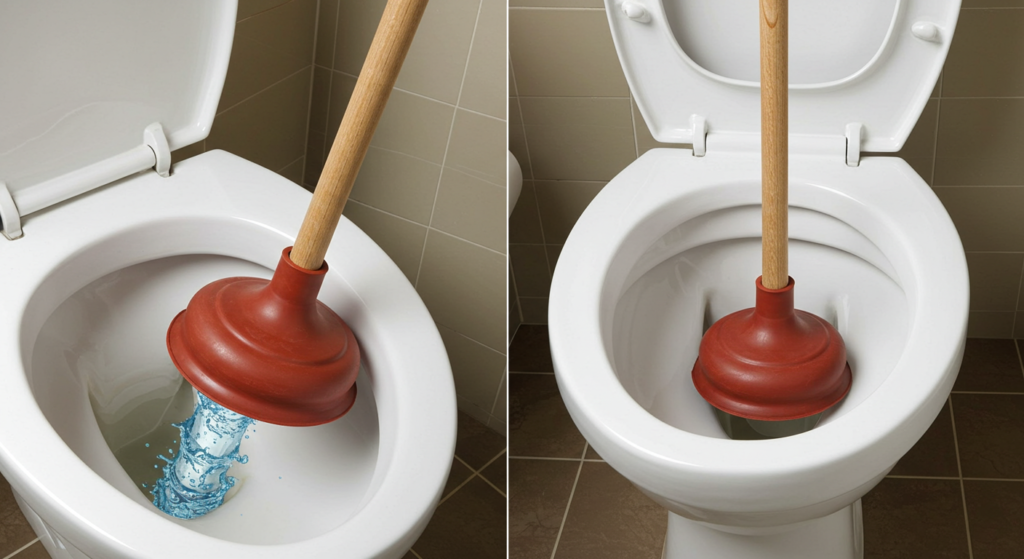
- Plunger technique:
- Use a flange plunger, which is specifically made for toilets.
- Create a good seal by making sure that the plunger is covering the opening to the drain.
- Plunge firmly but in a controlled manner.
- Auger method:
- Insert the auger carefully into the drain.
- Turn the handle clockwise while pushing it in, to help break up the clog. Be careful not to scratch the bowl when inserting the auger.
- Plunger technique:
10. Fixing a Garbage Disposal
- Average Cost Savings: $75-125
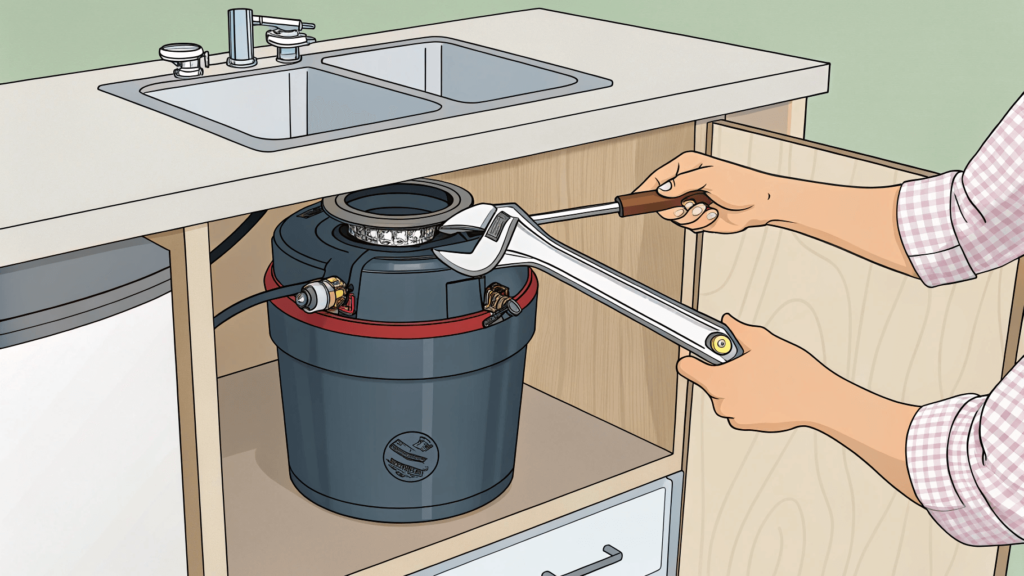
- Troubleshooting:
- If the disposal won’t turn on:
- Check that the power is on and the unit is plugged in.
- Press the reset button on the bottom of the unit.
- For jams:
- Insert an Allen wrench into the bottom slot of the disposal.
- Turn the wrench back and forth to release any jams.
- Remove the obstruction by pulling it out with pliers, or your hands.
- If the disposal won’t turn on:
When to Call a Professional
While DIY repairs can save money, know your limits. Call a licensed plumber for:
- Major pipe repairs or replacements (especially if you are not familiar with this type of repair).
- Sewer line issues (as this requires specific tools and training).
- Gas line work (as this is extremely dangerous).
- Persistent problems (if you’ve tried multiple times to fix an issue, and it continues to persist).
- Any repair you’re not completely confident about (you should always prioritize your safety, and make sure that you do not do a repair that you are not comfortable with).
Conclusion
Mastering these basic plumbing repairs can save you significant money and give you more control over your home maintenance. Remember to always prioritize safety and know when to call in the professionals. Keep this guide handy, maintain your tools, and approach each repair with patience and attention to detail.
Remember: The best repair is often preventive maintenance. Regular checks and cleaning can prevent many common plumbing issues before they become problems.
Disclaimer: This guide is for informational purposes only. Always consult local building codes and regulations before attempting any plumbing repairs. If you’re unsure about any repair, contact a licensed plumber.

