When my husband and I moved into our first open concept home, I felt overwhelmed by the vast space. Where would the couch go? How could we make the dining area feel separate yet connected? After years of experimenting and learning from both successes and mistakes, I’m excited to share everything I’ve discovered about styling these versatile spaces.
In this guide, you’ll learn:
- Real solutions for common open concept challenges
- Expert-approved furniture layouts that actually work
- Budget-friendly styling tips from my own home
- Simple DIY projects to define your spaces

Why Open Concept Living Spaces Work (When Done Right)
Think of your open concept space as a canvas where different areas flow together like brushstrokes in a painting. During our recent holiday gathering, I watched as guests moved effortlessly between the kitchen island and living area, conversations continuing unbroken. That’s the magic of well-designed open spaces.
Quick Win Tip
Place your largest furniture piece first (like our sectional sofa) and build around it. This one change transformed how our space functioned.

Creating Zones That Work For Real Life
The Power of Area Rugs (A Game-Changer)
Remember that time your kids’ toys seemed to invade every corner of the house? Here’s my solution:
- Living Room Zone
- Use a large 9×12 rug (I love this [specific recommendation]*)
- Position furniture legs either all on or all off
- Layer smaller rugs for reading nooks
- Dining Zone
- Choose a rug at least 24″ wider than your table
- Use washable options for family-friendly spaces
- Define breakfast nooks with round rugs

DIY Zone Divider Project
Weekend Project Alert! Create a stunning room divider using wooden dowels and rope. Total cost: under $50.

Furniture That Pulls Double Duty
After countless furniture arrangements (and some epic fails), here’s what actually works:
Living Room Must-Haves
- Floating Sectional
- Creates natural room division
- Offers flexible seating
- Our top pick: [specific recommendation]*
- Multi-functional Ottoman
- Coffee table by day
- Extra seating for parties
- Hidden storage inside
Space-Saving Solutions I Swear By
- Wall-mounted desk that folds away
- Nesting side tables
- Expandable dining table
Real Talk: Color and Texture
Let me share a mistake I made: painting every wall the same color made our space feel like a warehouse. Here’s what worked instead:
The 60-30-10 Rule in Action
- 60% main color (walls and large furniture)
- 30% secondary color (accent furniture and textiles)
- 10% accent color (accessories and art)

Lighting Magic: From Day to Night
My Lighting Layout Formula
- Ambient Lighting
- Recessed lights on dimmer switches
- Large window treatments for natural light control
- Task Lighting
- Adjustable reading lamps
- Under-cabinet lighting in kitchen
- Mood Lighting
- Table lamps with smart bulbs
- LED strip lighting behind TV

Practical Storage Solutions (That Actually Look Good)
Hidden Storage Victories
- Built-in window seats with storage
- Ottoman coffee tables
- Floating credenza under TV

Seasonal Updates Made Easy
Spring/Summer Look
- Light linen curtains
- Botanical prints
- Natural textures
Fall/Winter Coziness
- Layered throw blankets
- Warm metallic accents
- Soft lighting solutions

Common Questions From My Instagram Followers
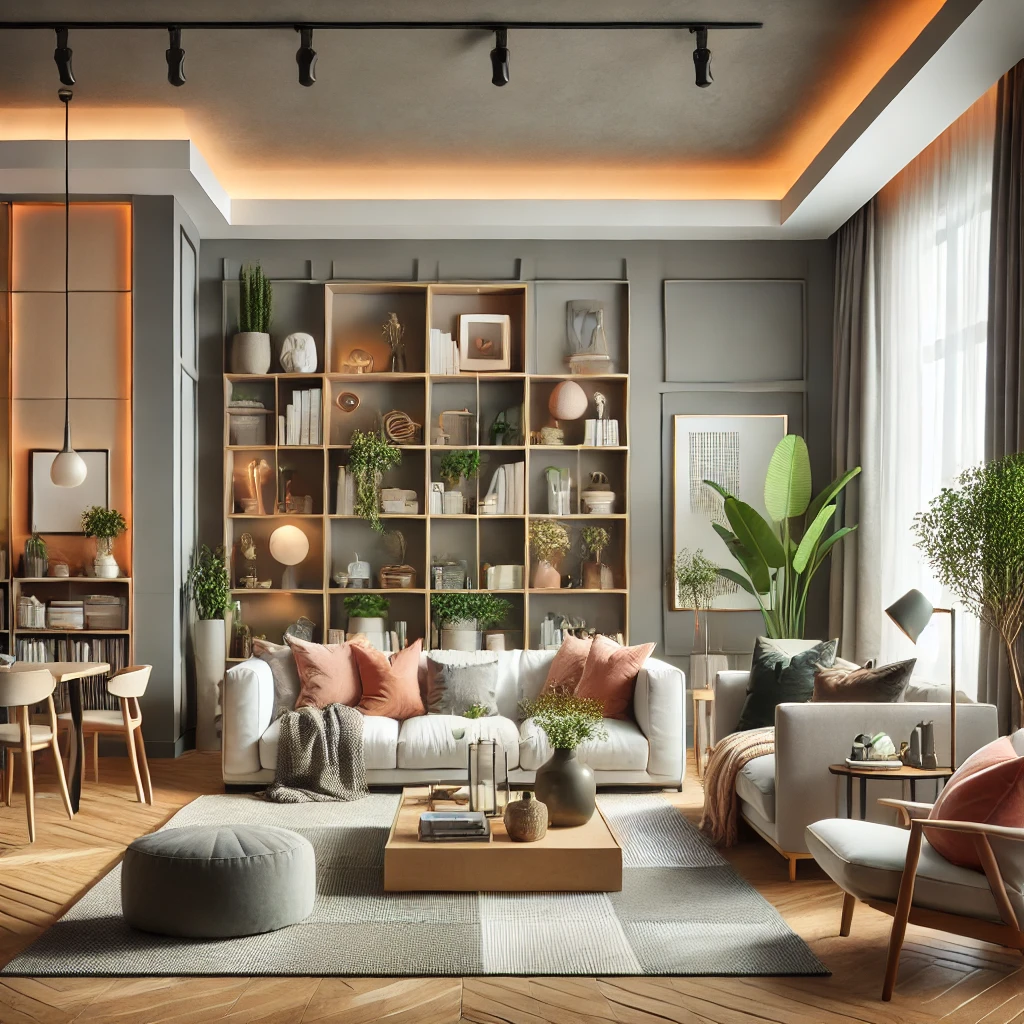
“How do you keep the space from feeling too open?”
Create intimate areas using furniture groupings and lighting. In our space, we used a tall bookshelf as a room divider that still allows light flow.
“What’s your solution for TV placement?”
Mount it on a central wall at eye level when seated. We created a gallery wall around ours to help it blend in.

Your Next Steps
Start small:
- Choose one zone to focus on first
- Add definition with a new area rug
- Experiment with furniture placement
- Layer in lighting
- Add personal touches
our perfect open concept space is within reach. Begin with one area that bothers you most, and build from there. The beauty of open concept living is that it can evolve with you and your needs. Ready to start transforming your space? Pin this guide for later, and don’t forget to share your before-and-after photos with us!